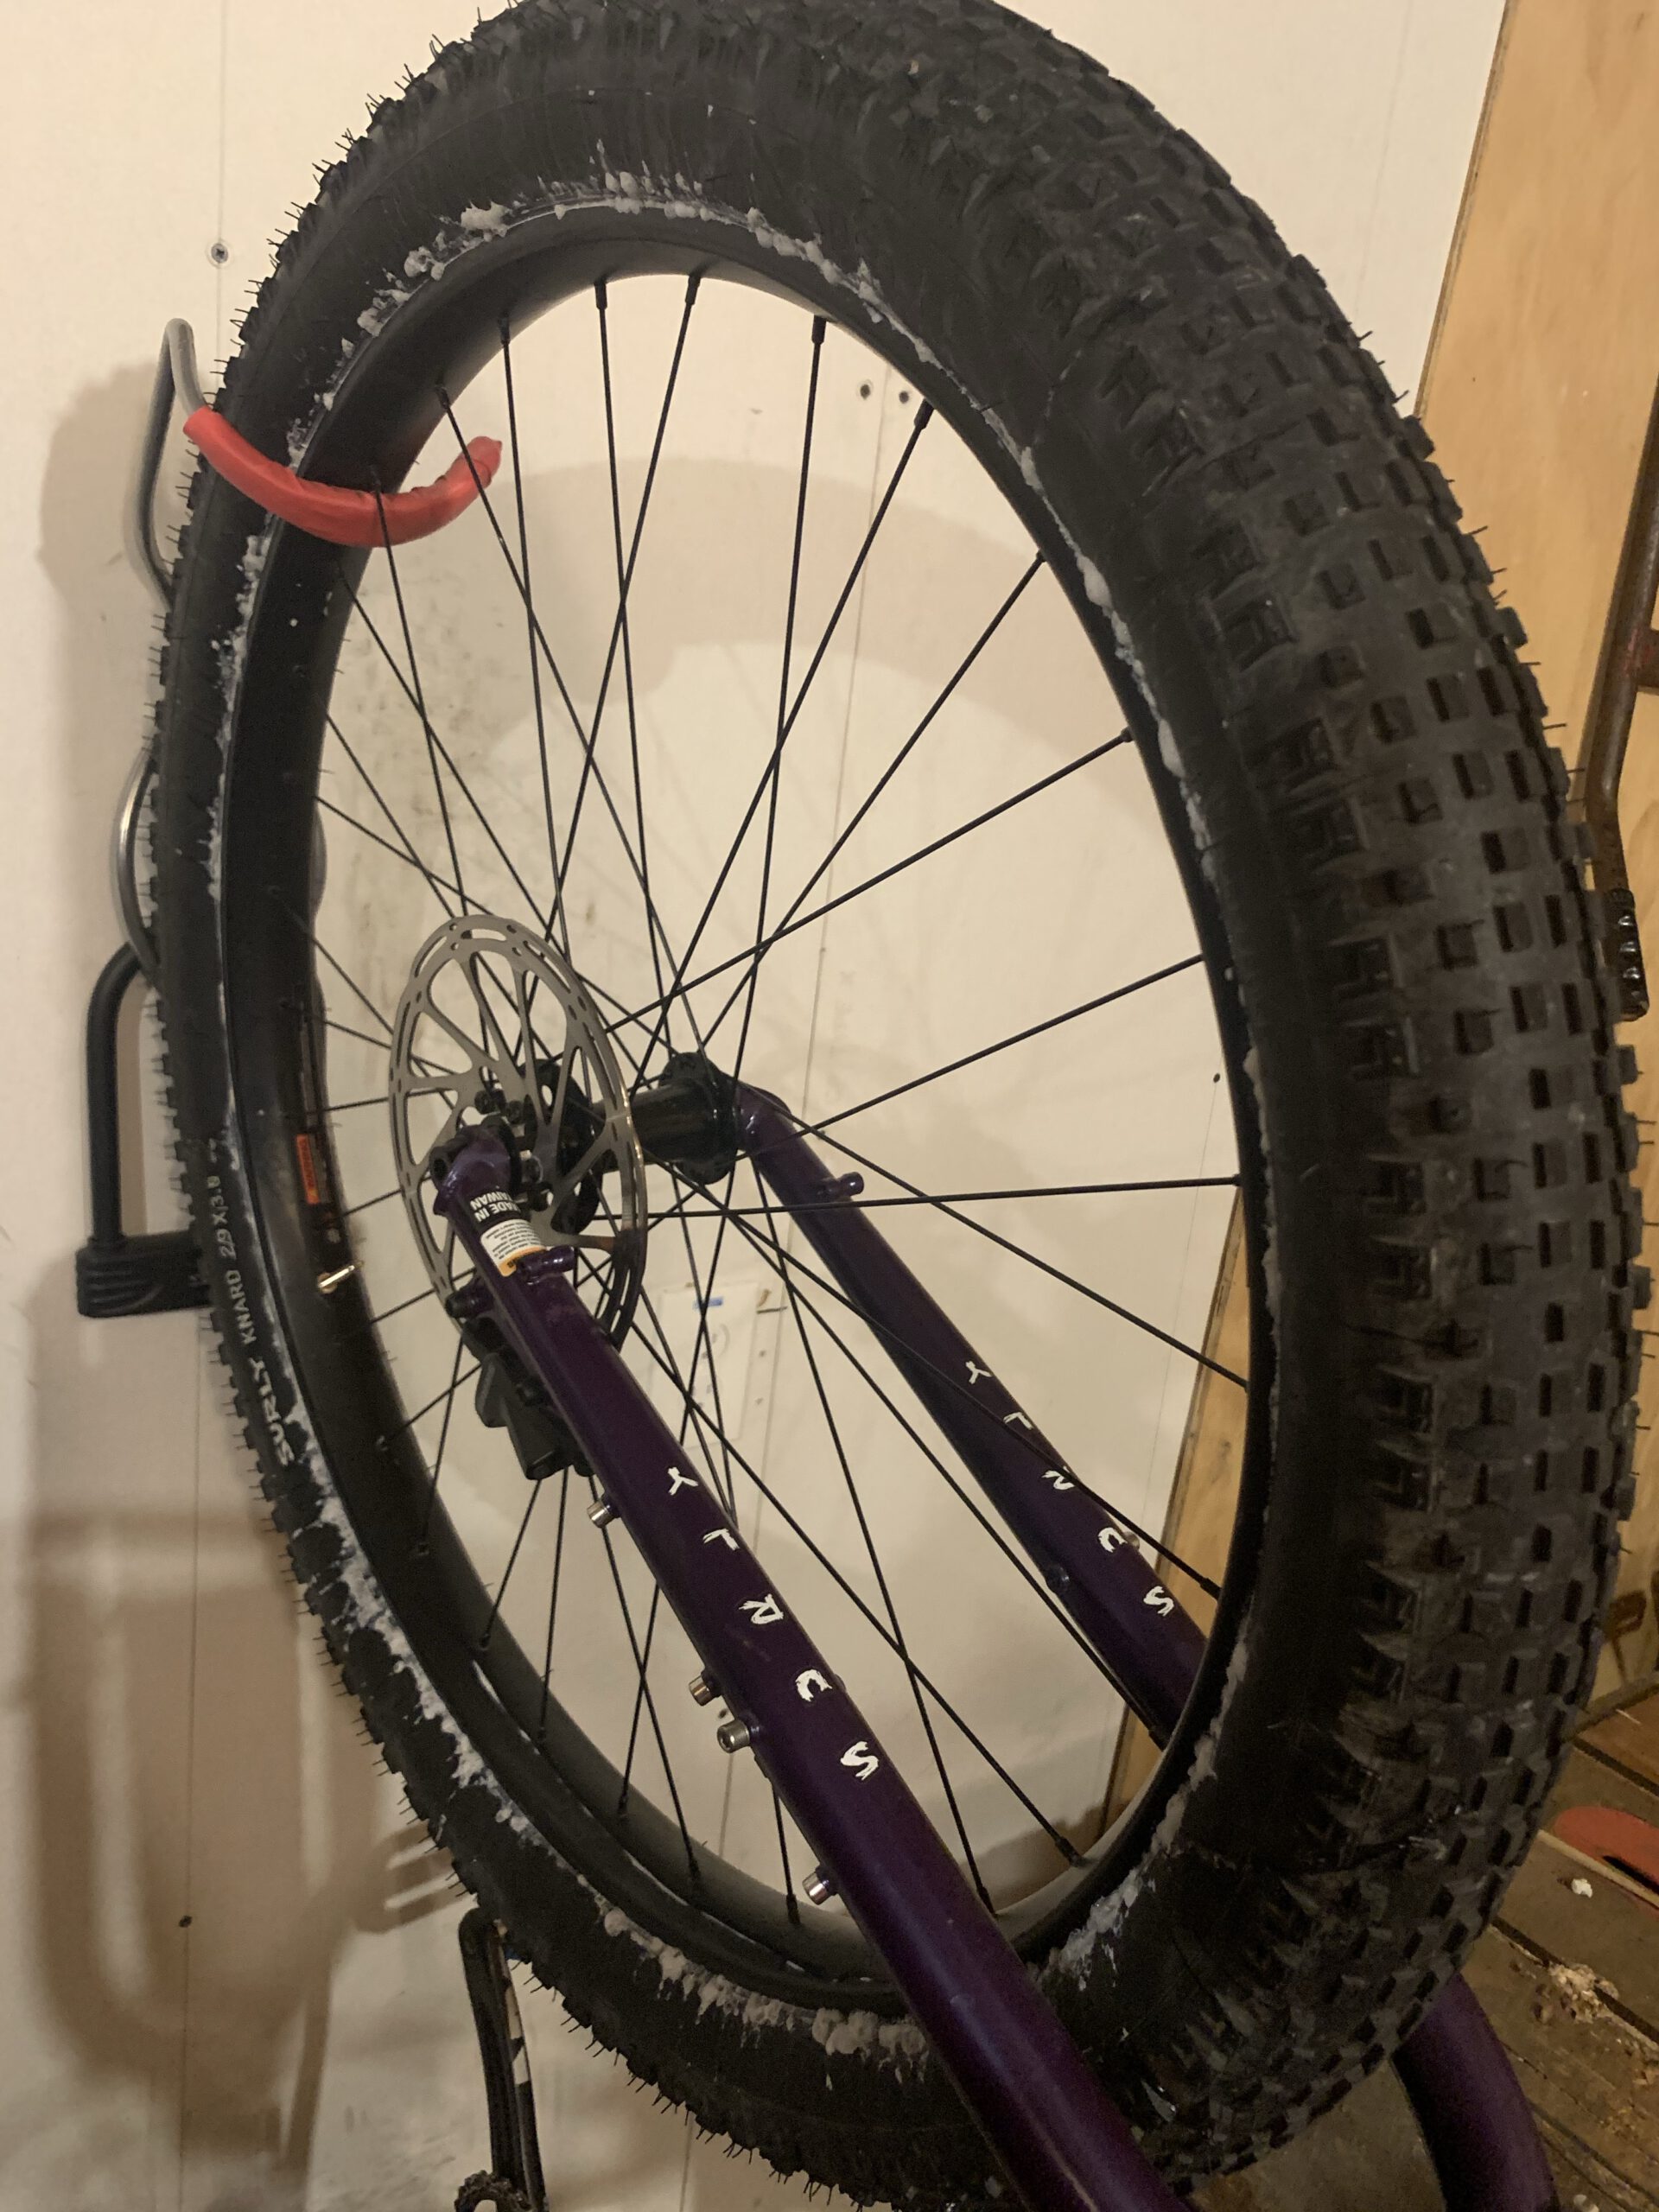
This post is about taking my son’s Knard 29×3 27 tpi tires tubeless on WTB ST i40 rims.
I’m a fan of using kapton/kapten tape for going tubeless, but my only roll at home was 50mm and the i40 rims are 40mm for which WTB recommends going 5mm wider on the tape. I wanted to set my son’s tires up this week while it was still warm out and didn’t want to wait for cheap bastard kapton eBay tape to arrive, so I procured Whisky Parts Co. tape locally thanks Now Bikes & Fitness. ** UPDATE – no longer use kapton tape, its adhesive seemed to give up in the presence of sealant. **
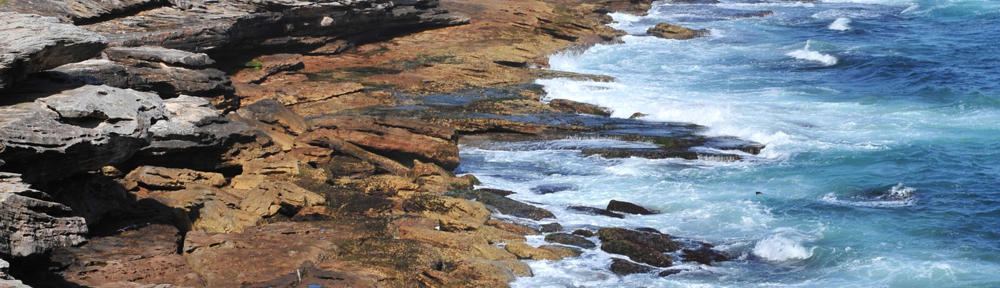
For those who need help with going tubeless, read a guide like this one and if that link fails, the archive may render it. I pulled off the Krampus’ front wheel and removed the tire and factory tube, an Innova 29″ x 2.5″ – 3″ with a presta valve weighing in at 14.2 ounces:
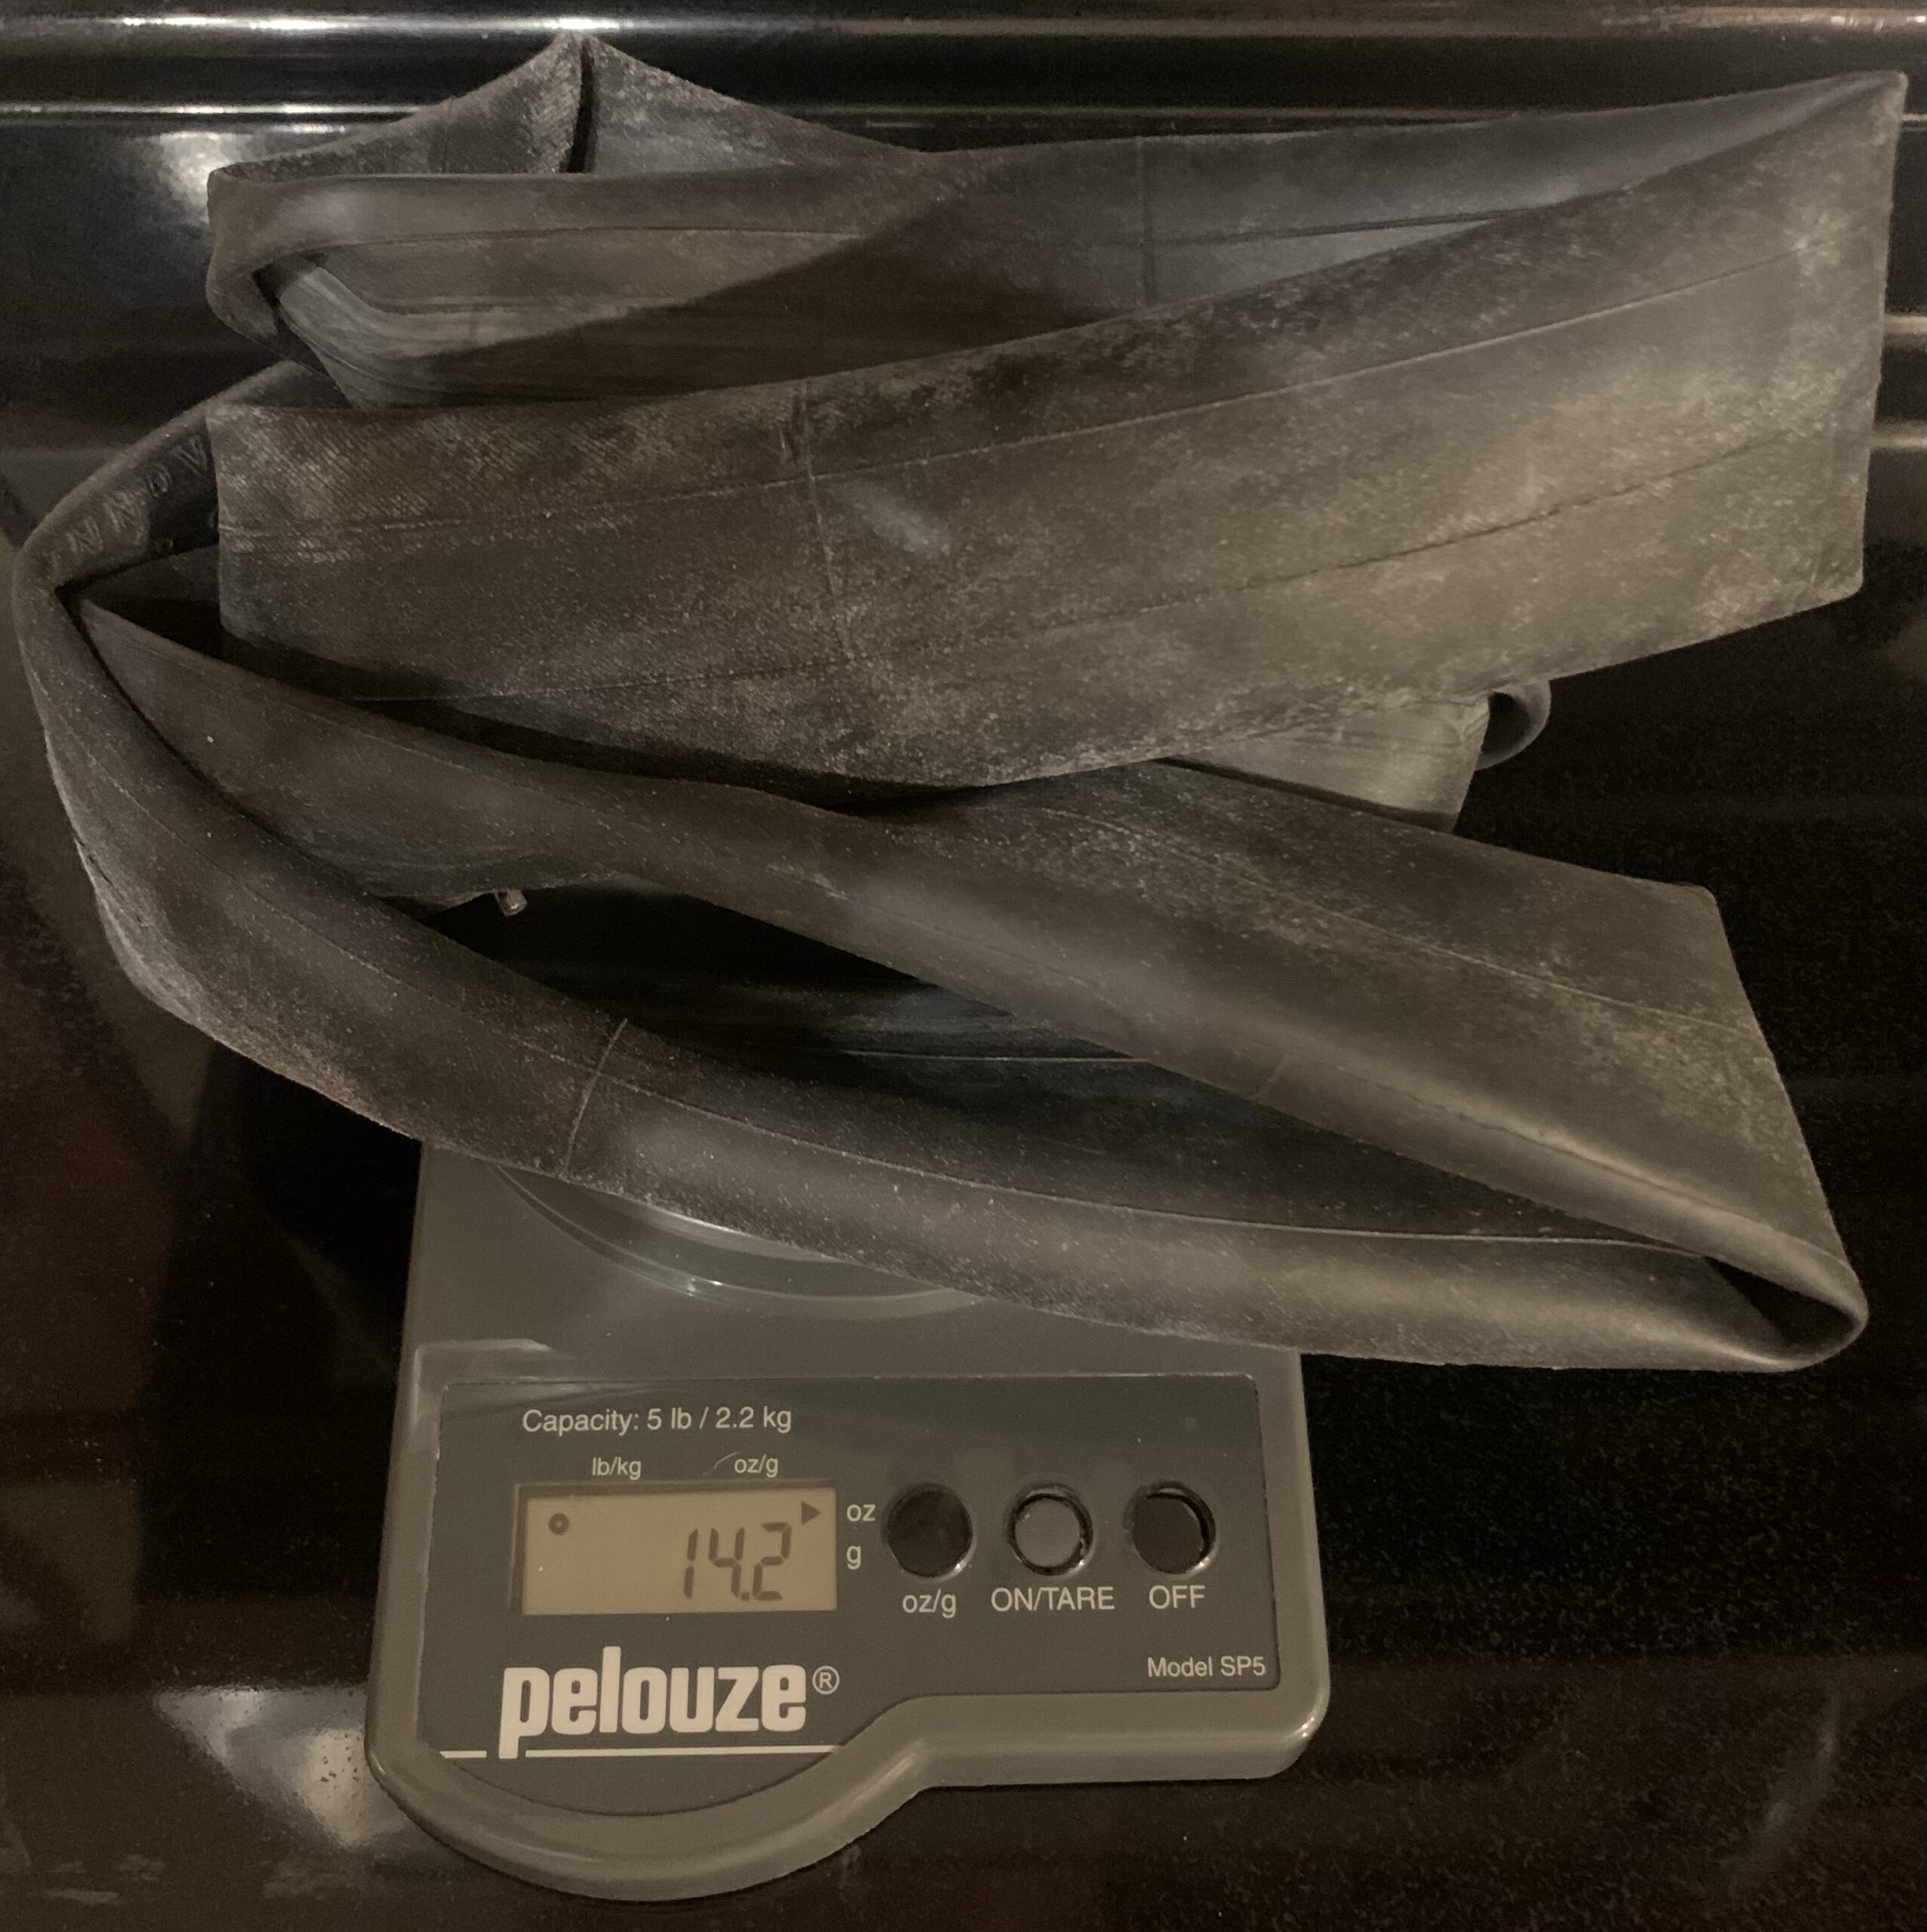
I wanted to buy some solid strip rim tape, but WTB has been out of stock, so I’m stripping width off the existing rim strip and taping over that:
https://www.schwie.com/brad/wp-content/uploads/2020/10/img_1985.movWhich saved another 2.6 ounces (tape roll was tared):
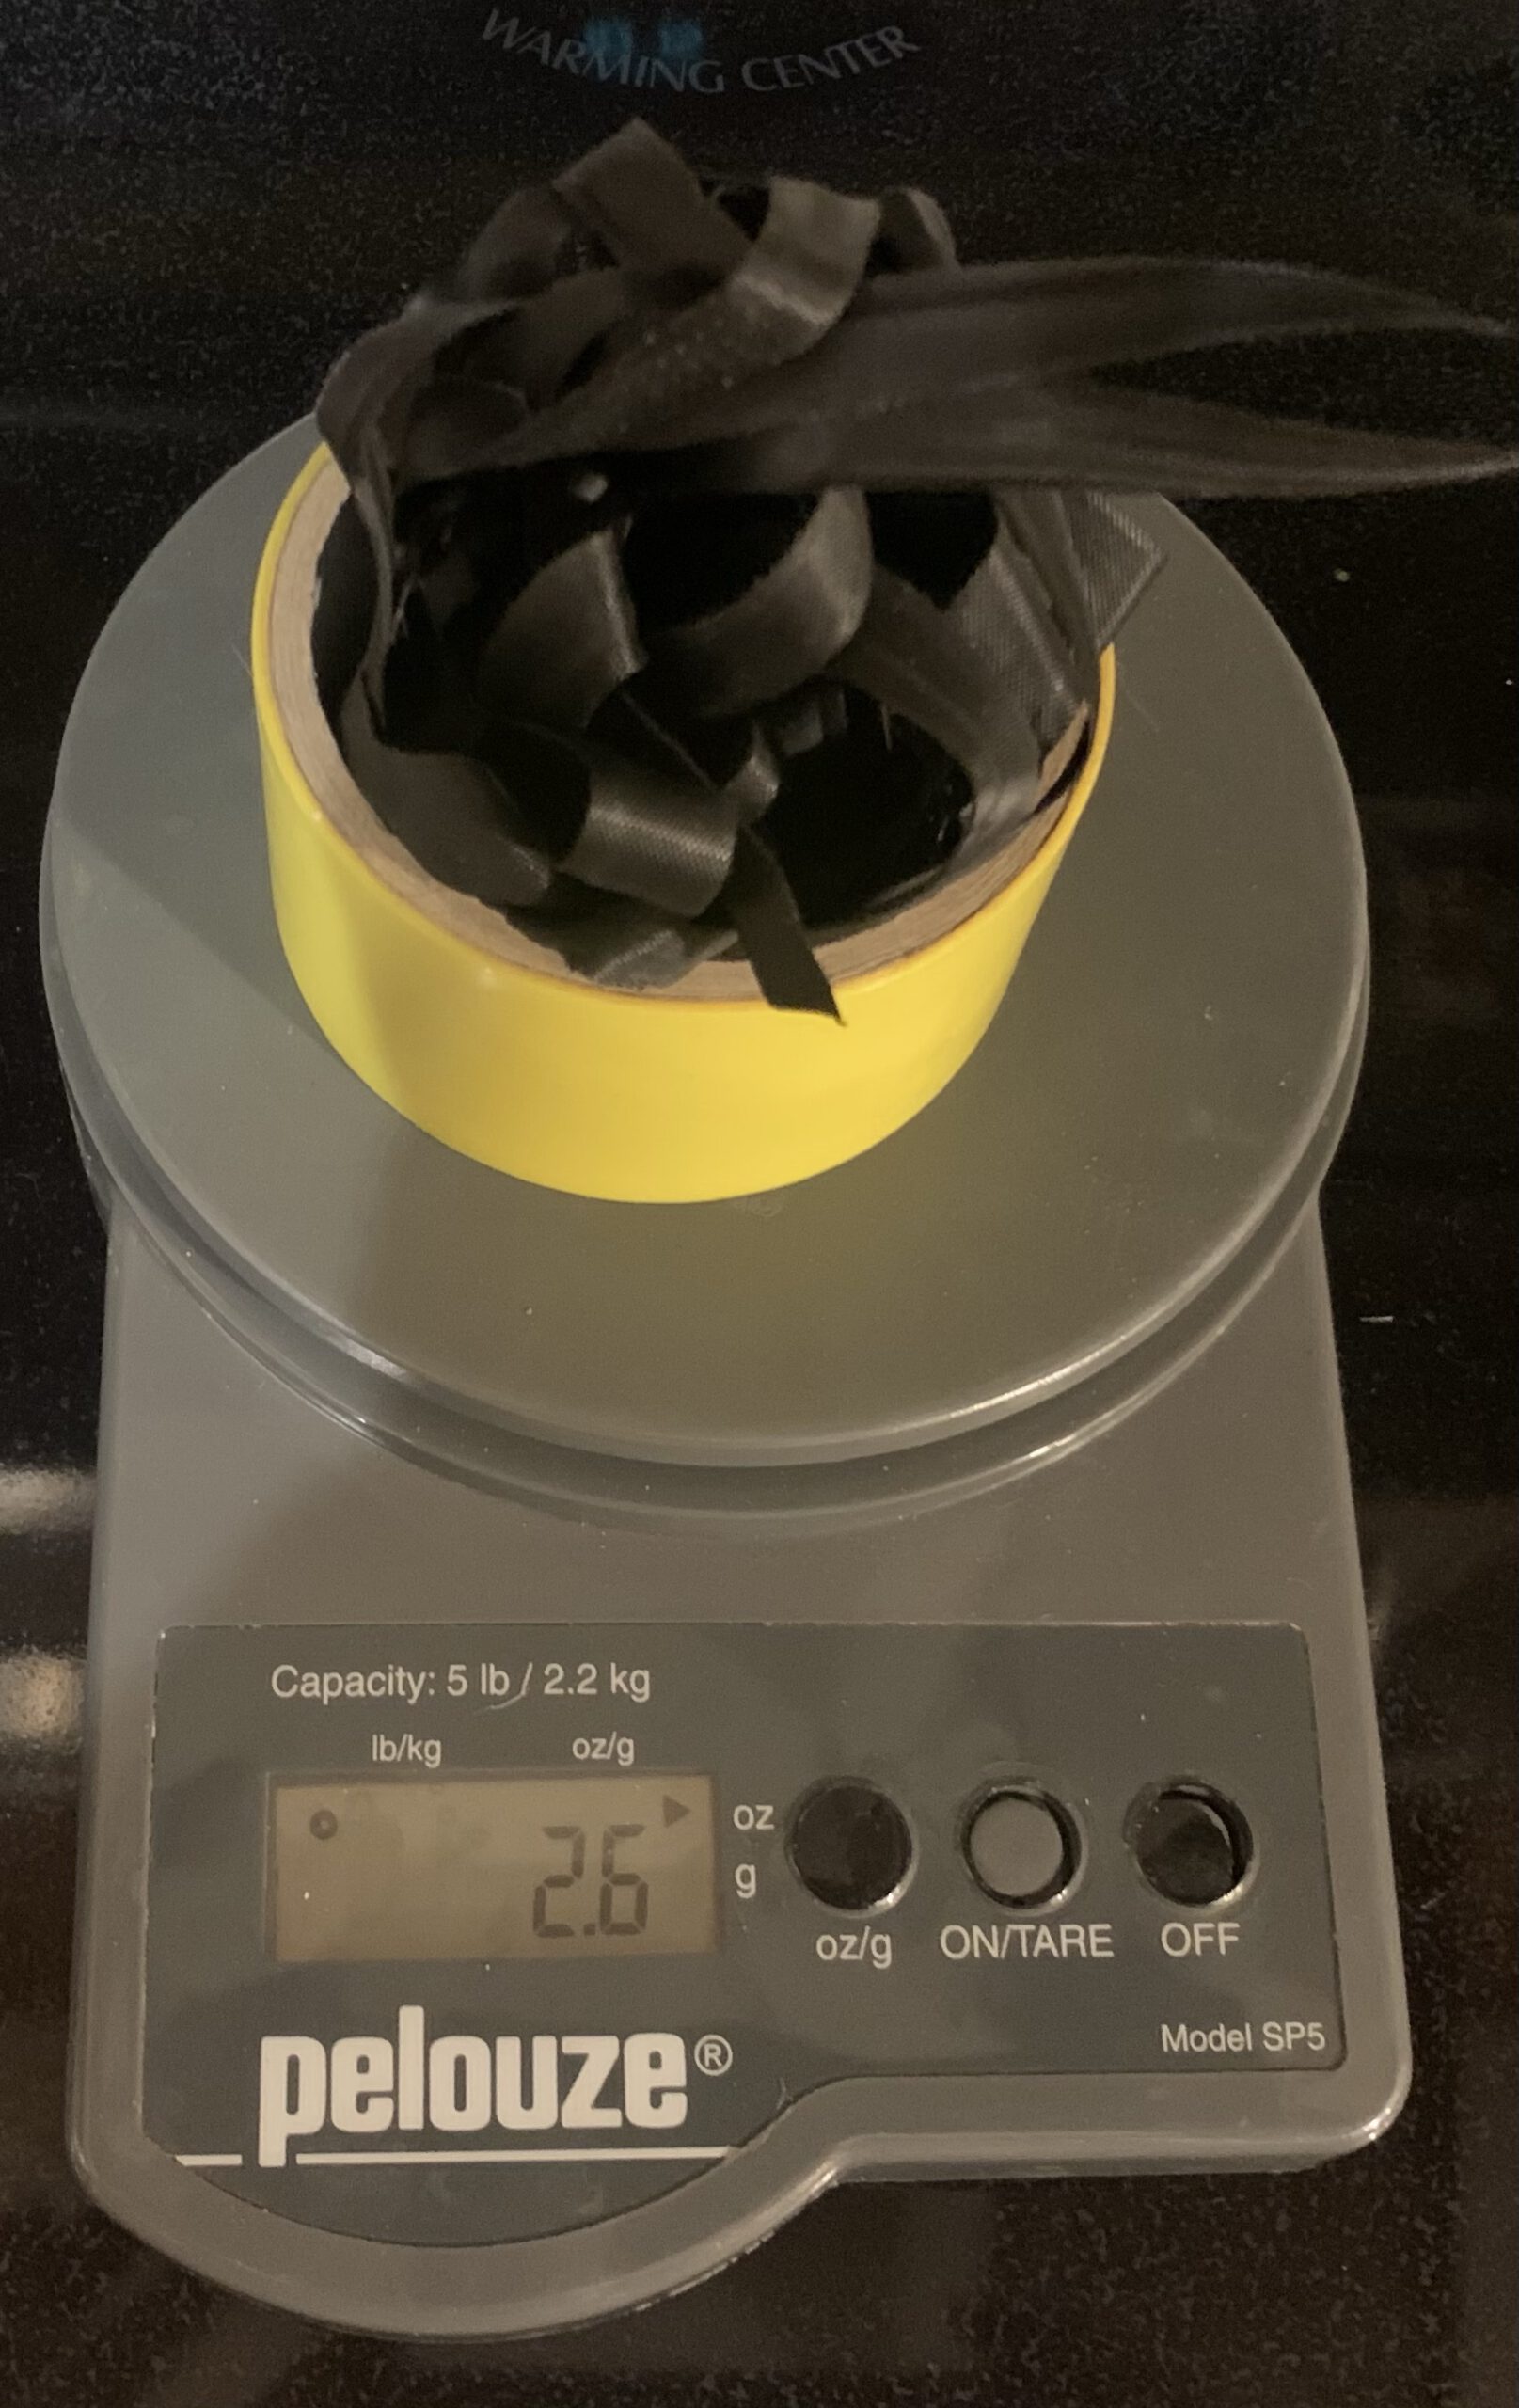
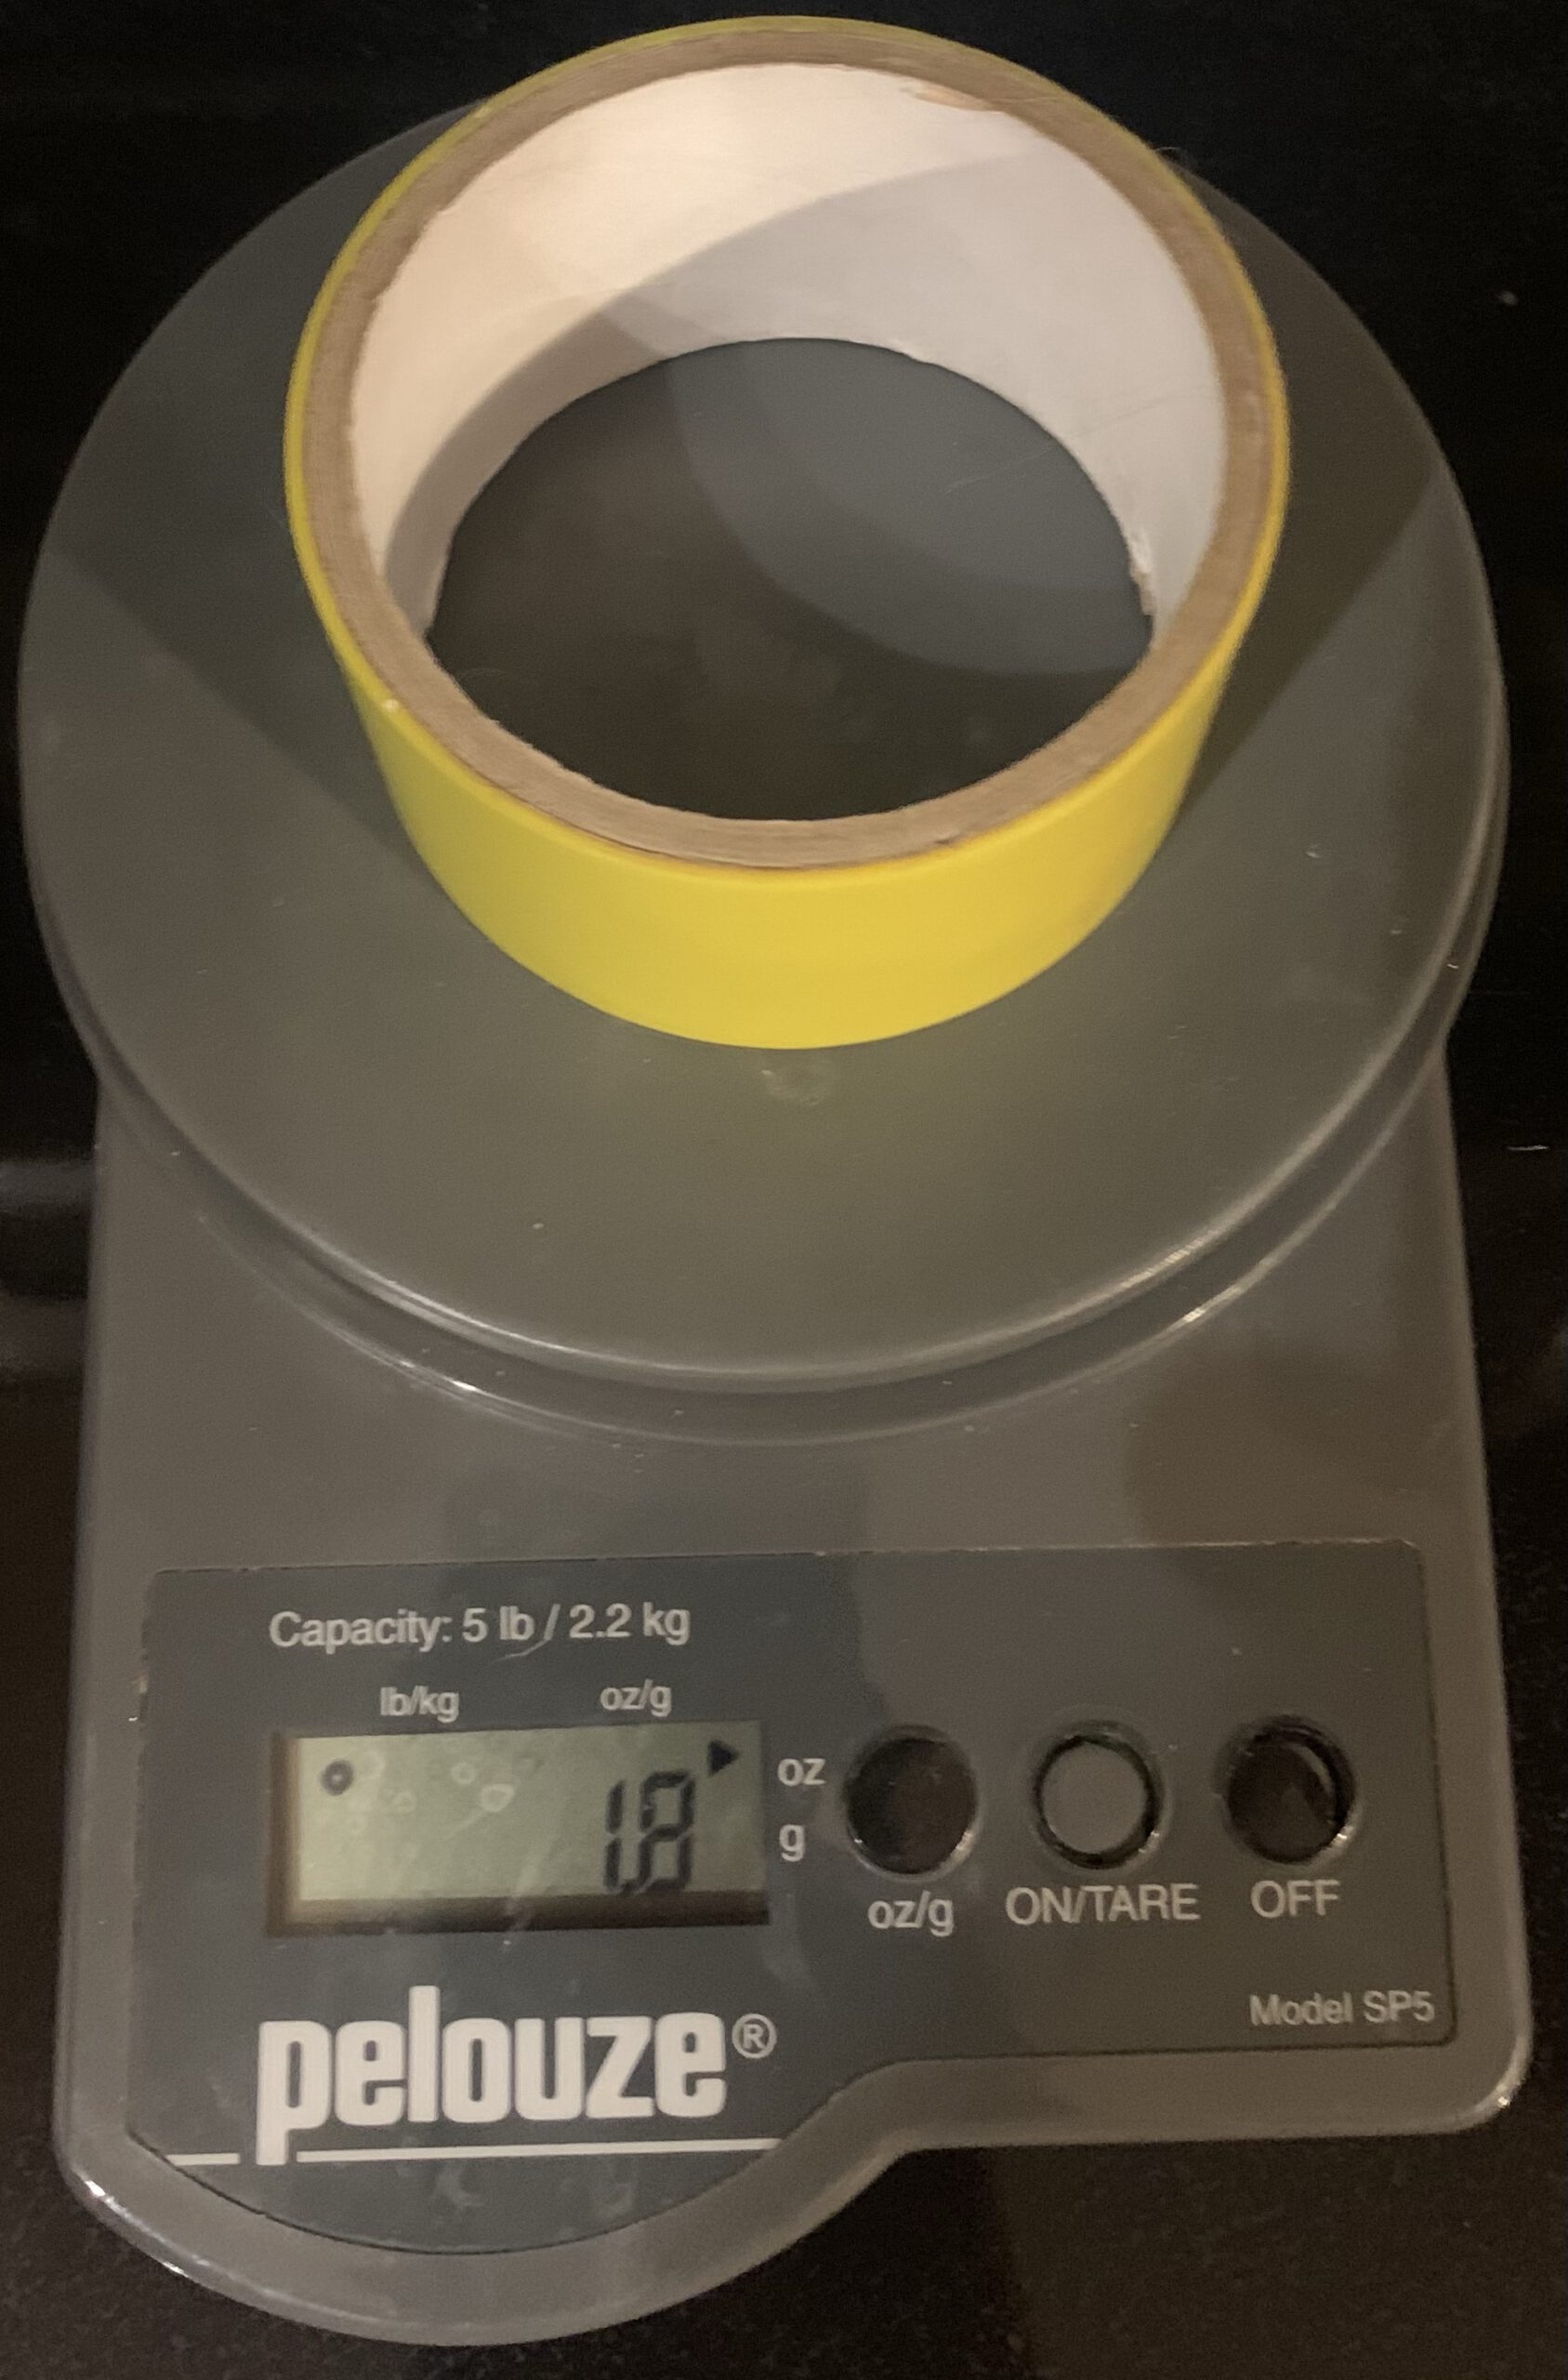
There will be no more than 0.6 ounces of tape per wheel:
Don’t believe me? Here’s the tape roll weighed after taping both wheels:
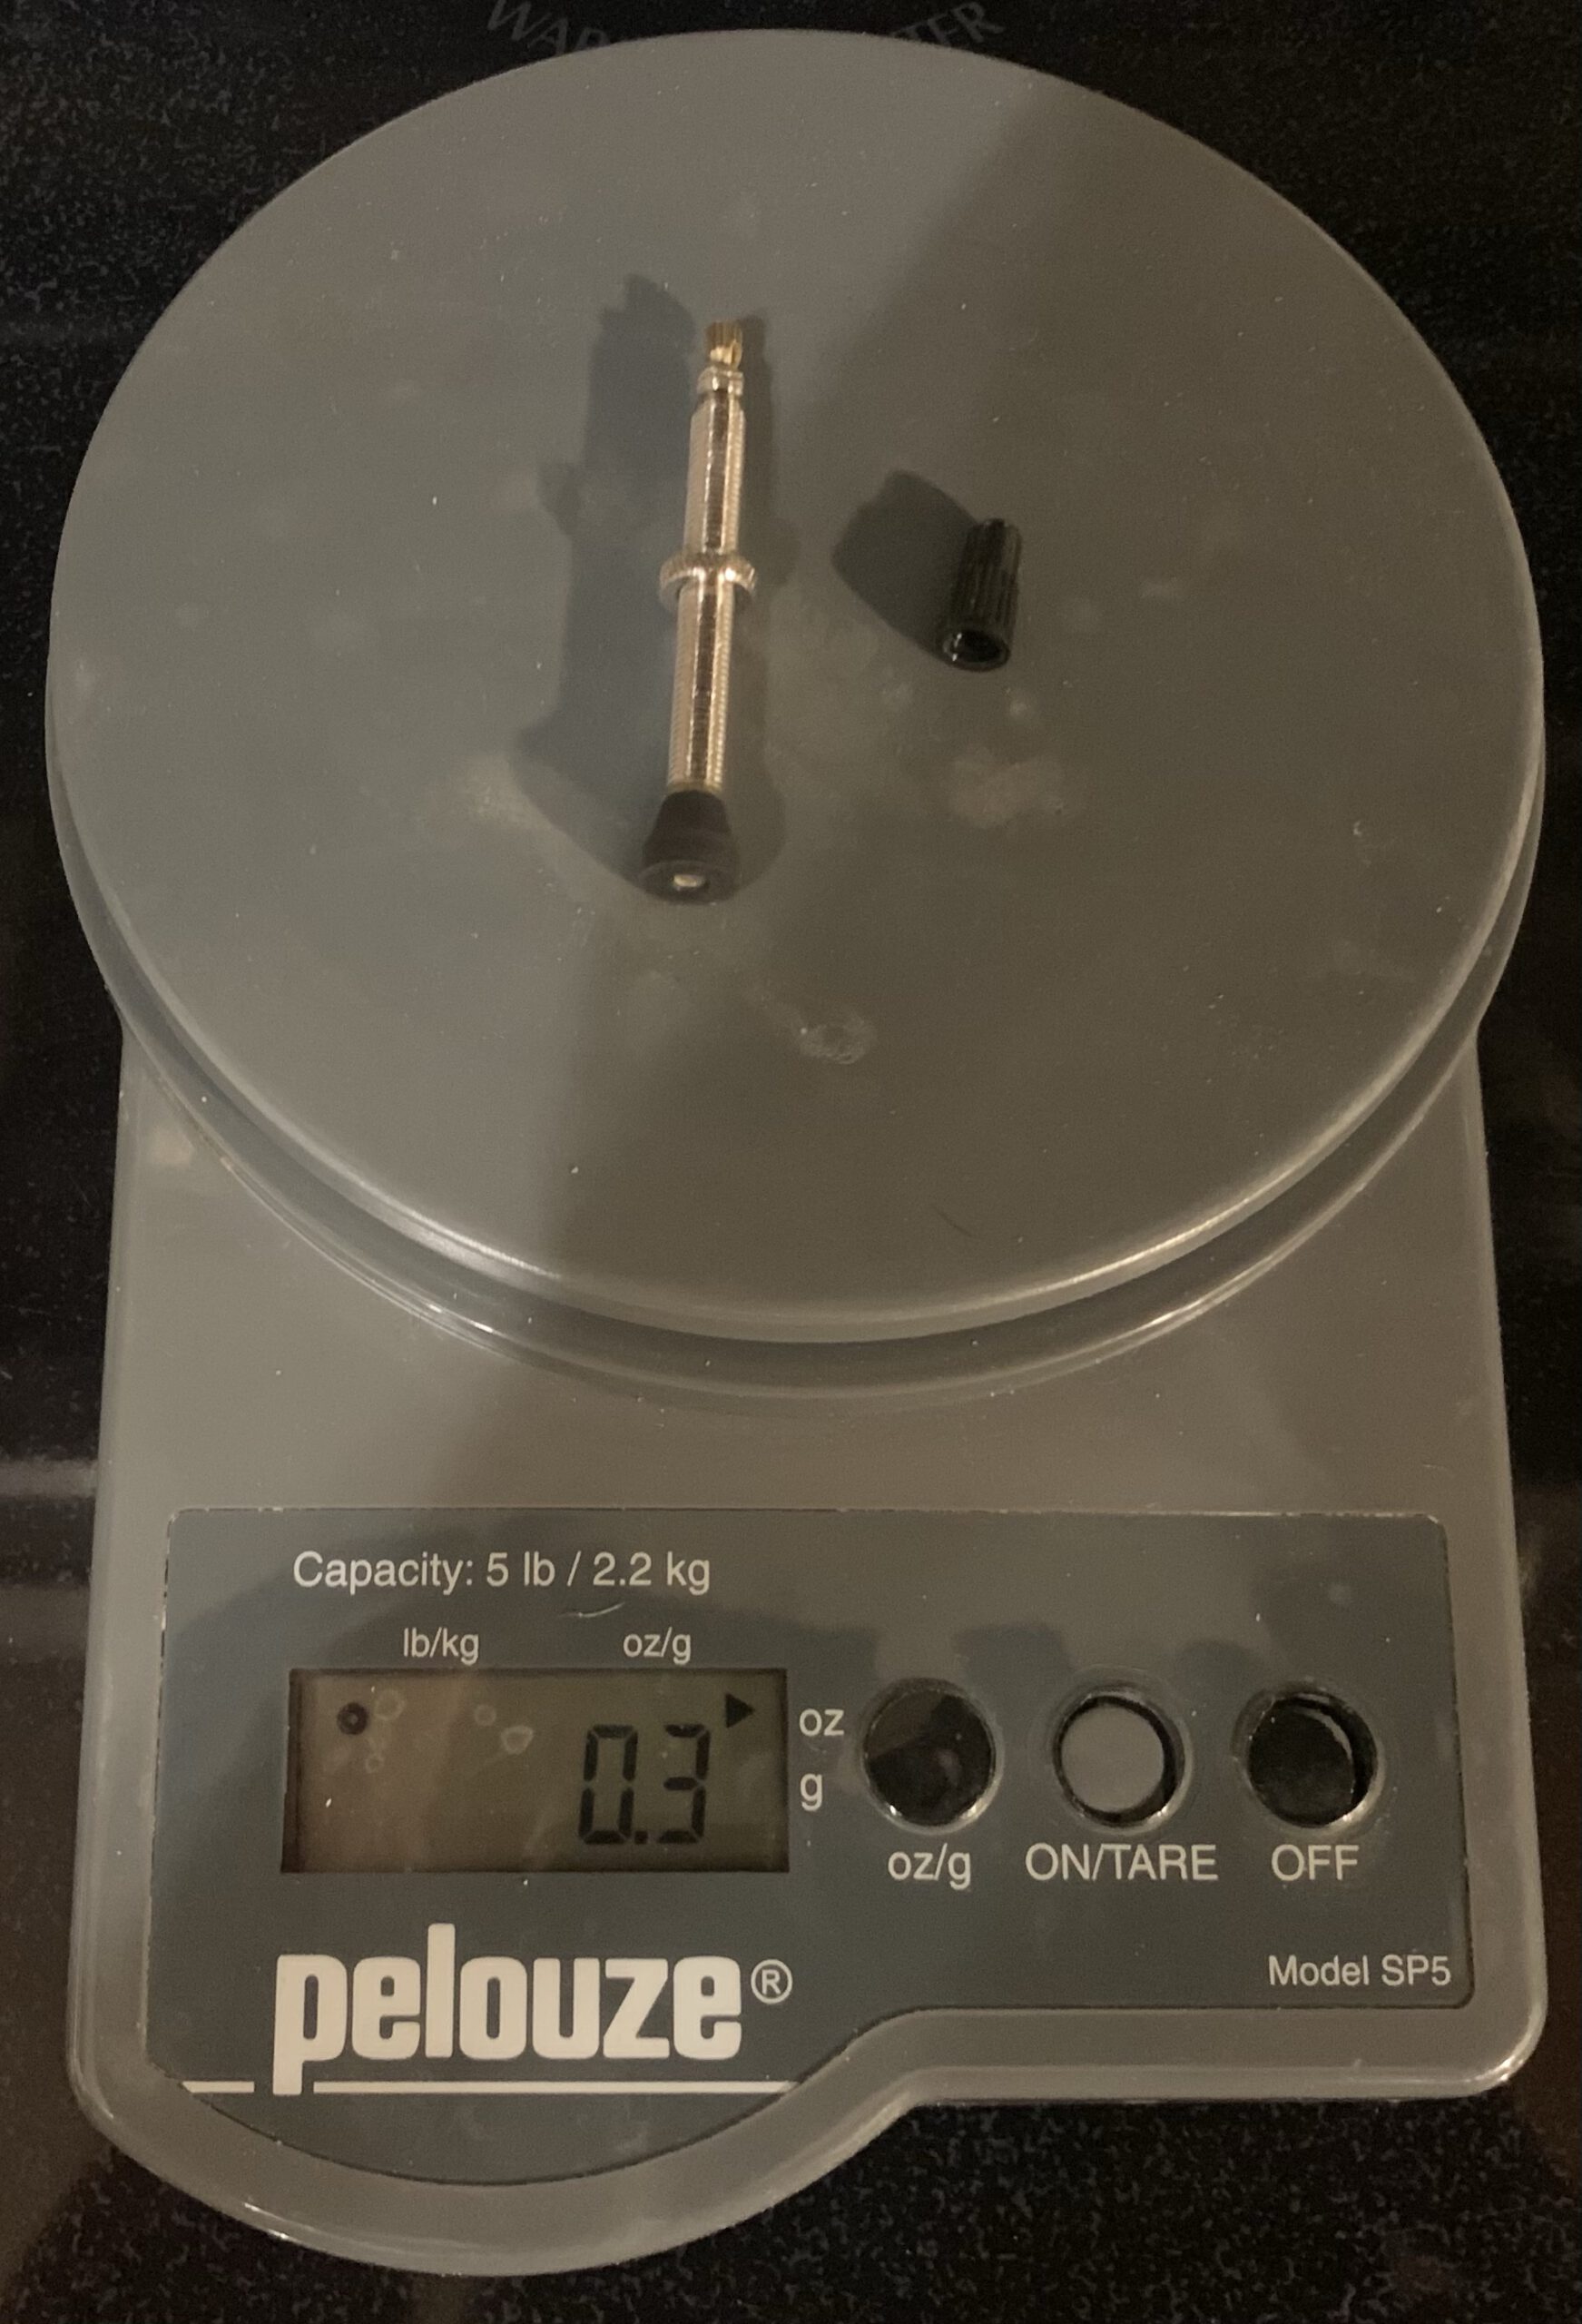
and 0.3 ounces/wheel for a Stans No Tubes presta valve:
We taped the rim with one pass and overlapped at the valve.
I decided to skip trying to inflate the tire with the tube and thought of this approach instead: place the tire back on the rim and manually pushed one side of the tire bead into its seated position against the inner rim wall. The loose side of the tire was left hanging downward toward the opposite inner rim while the wheel laid over a 5-gallon pail – ready for air. The air compressor was set to 120 psi to get a nice burst of air connected to the presta valve body with a used scrap of 3/16-inch diameter polyethylene tubing. After a blast of air we heard two snaps/pops – the tire is fully seated!
At this point, a large amount of air stills leaks out around the rim and tire beads – now it’s time for sealant! Pull off the polyethylene tubing from the presta valve body and fill with sealant. I used 3 ounces of leftover homemade sealant from about a month ago, still in liquid form, squeezed in with a left over Orange bottle and tubing. Blow up the tire a couple times without the presta valve insert to make sure the tire is still seated and to spray the sealant around. Reinsert the valve core and continue a few blasts with the air compressor until you think you can keep it inflated long enough to start riding it. Mine looked like this:
I found that riding the tire around is when the sealant really spreads around to help hold air, but if you can’t do it safely, just spin it or bounce it next to the air compressor.
At this point I left it for the night and had to reinflate in the next couple days, several times.
I forgot to note, my homemade sealant (3 parts windshield washer fluid and 1 part molder builder) is too latex-skimpy – others recommend 3 parts windshield washer fluid to 1.5 parts mold builder, which I will try next time.
A day later Liam left for Levi’s, riding the now-tubeless Krampus and was blown away how light they felt. I tried it myself while trying to get the sealant spread around the inside of the tires. I thought wheelies felt much easier than they use to, but I may have just been giddy to have air staying inside of them.
Last thing, we used 2.5 ounces of sealant, which may need to increase as a lot blew out one side of the rim.
Let’s run the numbers:
14.2 ounces + 2.6 ounces = 16.6 ounces lost from shedding tube and rim strip
0.6 ounces + 0.3 ounces + 2.5 ounces = 3.4 ounces gained from adding tape, presta valve, and sealant.
This means the front wheel lost 13.2 ounces. The back wheel was built the same way, so Liam’s Krampus lost over 1.5 pounds of rotational mass from this conversion.
** Update 10-7-2020 **
Both tires drop about 3 psi per hour, which requires daily inflation. Surely this can be fixed, so I pulled the front wheel off and brought it inside to run it under water. I found bubbles emerging from a few discrete points from the non-disk tire sidewall. I laid the wheel on its side, disk-side up, to make sure the sealant could get to these sidewall areas.
** 10-8-2020 **
The next morning the tire was still inflated with the leak rate dropping to 1.5 psi per hour – progress! Today, the wheel will lay sideways disk-side down to see if the opposite side of the tire needs more of a sealant bath.
I still think future batches of home-brew sealant need more latex, but its also possible I didn’t add enough latex to the tires during their initial inflation with sealant. I’ve used a dipstick since then and I can see liquid sealant remains in the tire’s annular space.
** 10-11-2020 **
I remixed the sealant and boosted the ratio to 3 parts windshield washer fluid and >2 parts mold builder. I can tell the sealant looks more viscous now. I checked each tire with the dipstick and they appeared to be dry or nearly dry, so I added 3 ounces of the revised sealant to each tire. After first doing this, sealant was still coming out of the tire sidewalls in >10 discrete points. I’ll give it a bit and see how it sets up.
** 11-3-2020 **
Still having leaks a couple minor sidewall leaks and substantial leaks at the rim bead interface. It appears that forum advice of “just ride the bike” is rubbish. After inflating the tires, shake the rim while twirling it for about 15 seconds then lay the wheel on its side for 10-15 minutes much like you’ll see in this video after the 6 minute mark:
After doing this, I can already see improvement in the leaks and its holding air much longer. Doing this shake/twirl procedure is likely why bike shops say they need 1 day to complete your tubeless request. Will report back on how this goes.
** 11-15-2021 **
Was still having problems with air leaking out and figured out kapton tape doesn’t like getting wet after I inspect Ella’s a couple weeks ago: the adhesive gives up its ghost and comes apart!
I ended up tearing the kapton tape out, used Whisky rim tape, and tossed in Fatty Strippers – now it seems to be golden, the tires are staying inflated.
** 6-15-2022 **
The tires were getting low, so I put some fresh Orange sealant in and that seems to have stopped the leaks.
** 8-15-2022 **
Tires are still holding air using Orange sealant. Fatty Strippers seem to be doing their thing. Haven’t used home-brew sealant since last year, but considering another recipe:
https://www.youtube.com/watch?v=L94EwIP-LPA&t=124s
1 part carpet latex (copydex)
1 part glycol antifreeze
1 part water
Will report back or start a new post if this works.
** 12-30-2022 **
The tires are still holding air, although Liam only used the Krampus a couple times this summer as he’s outgrown it.
Also, I’m considering another couple recipes, including some in this video and its comments:
1 part DAP Alex Plus
1 part isopropyl alcohol
1 part water
and:
2 parts liquid latex
https://amzn.to/3hVxdcj
0.25 to 1 part ammonia* (unverified, but 0.25 parts may be best for tire and rim health)
https://amzn.to/39OhE3k
2 parts anti-freeze
https://amzn.to/39Ni1eo
4 parts distilled water
https://amzn.to/3gmNEhn
5-10 handfuls of dog fur, alternative would be a few tea spoons of corn meal
** 5-6-2023 **
A few more recipes I’m interested in trying:
https://www.mtbr.com/threads/best-tubeless-brew.406115/page-217#post-14398767
1 part liquid latex “Mold Builder” brand – Amazon
2 parts distilled water
2 parts propylene glycol -Amazon or Tractor Supply
0.3 parts ammonia – Ace Hardware “Professional/Janitorial Strength”
1 tbs (or more depending on application) cooked cornmeal – Kroger
(1 part is reportedly a Stan’s red scooper – WTF, why can’t bikers describe their recipes with standard recipe units?! According to one guy it is between 60 and 63 mL.
And this recipe is similar and also sounds promising:
https://www.mtbr.com/threads/best-tubeless-brew.406115/page-218#post-14879103
2pt Propylene Glycol – for antifreeze properties in cold weather
0.3pt 10% Ammonia (Percentage strength not mentioned everywhere and handy to know if you happen to stumble upon 15%, 20% or 25%) – Keeps the latex fluid and evaporates upon exposure to the air
1pt Latex – none of the recipes mention the thickness of the latex. The thickness differs between different brands. The one I can get is 3500 mPas. This is quite thick compared to other brands…
2pt Demi water
and the coagulating agent of your choice, be it tumbledryer lint, coffee grinds, hair of dog, glitter, rubber pellets, corn starch, semolina or other “secret ingredient”.
Finally, superdez75 has a really simple one:
https://singletrackworld.com/forum/topic/homemade-sealant-current-recipes/
6oz of liquid latex
14oz of water
12oz of Propylene Glycol
1/2oz of corn meal (I use fine but I think a mix of fine and medium would be effective)
superdez75 says: “This apparently is the stans recipe, I’ve used it for years and it works well. Latex already has ammonia so I would not add any, the Propylene Glycol is used to add a bit of thickness to the mix and to stop it freezing. Some people add fine glitter for when you get a bigger puncture but to be honest I would just have a tubeless repair kit on hand.”
With all of these recipes the logic seems to differ. I like how this manufacturer lays out concepts behind sealants.
Final note, the Knards needed more sealant this spring, but they keep working tubeless with the Fatty Strippers – what a great way to get more life out of these tires. Also, we are careful to not put more than 40 psi into these tires, 40 psi and below and they seem to work great.